Installing Windows 10?
Well, here I finally go again. Almost a year later.
Before I begin, I should probably note that the reason I had trouble with installing Windows 10 was due to be eagerness(?) to install the latest OS by Microsoft as it became available to the general public. Had I been a little more patient and waited just a bit longer, I would’ve had significantly less trouble upgrading.
I have a Mac mini from 2009 running Windows 7 32bit. When it was announced that we(people with genuine copies of Windows 7, 8 and 8.1)‘d receive Windows 10 for free, I set my ultimate goal as installing Windows 10 64bit (No point running a 32bit operating system when my computer can run 64bit just fine.) Knowing that, I discovered that my installation path would have to be
Windows 7 x86 to Windows 10 x86 to Windows 10 x64
It started when the clock ticked 9PM PT (or 12AM ET) when the world exploded (figuratively) with excitement over the release of Microsoft’s latest Operating System. Of course, being someone who is eager to download the latest software, I jumped on the hype train and tried to install Windows 10. The keyword is “tried”
Part A: Upgrading to Windows 10 x86 #
Nightmare A: No Update?? #
I opened up the Get Windows 10 app and was greeted with the same ol’ message of “We will notify you when your copy of Windows 10 is ready.”
Too impatient to wait, I went on r/Windows10 to find out ways to force the update. Surely enough, I found threads where people explained methods to force the system to throw you the update. I did the trick of running
wuauclt.exe /updatenow
…in an escalated Command Prompt. A few minutes later, I noticed the $WINDOWS~.BT folder in C:\ with what I assumed was Windows 10’s installation files. I then waited a few minutes, possibly even up to an hour, for the You are ready to install Windows 10 prompt to appear.
Did it appear? Well, if it did, I wouldn’t be writing about it. So, no. It did not work; in fact, it was the beginning of my 30 hour installation nightmare.
Running the setup.exe simply failed with errors popping up everywhere and files going missing and what not. So I went exploring on r/Windows10 again.
Nightmare B: The update failed, What now? #
I then discovered a method, where I can force the update while Windows Update is checking for updates by running the same command in an escalated Command Prompt immediately after pressing Check for Update in WU. Immediately, I saw the Windows 10 is downloading and watched as the system downloaded the OS from WU!
It must’ve worked, right? Well, no. After the download, I received the infamous Error 80240020, which explained by a Microsoft manager who helped me was the error given to those who tried to force an update before it was their turn to update (a queue to prevent the server from imploding). My only solutions being a) to wait for my turn to update, or b) use the MediaCreationTool from Microsoft’s website to create an ISO.
Being an impatient being as I am, I went for the MediaCreationTool. Did that work? Not really.
Nightmare C: Product Key!?!? #
Knowing that I would be downloading Windows 10 x64 again later, I specifically chose to create a Mix (x86 and x64) boot media when creating the .ISO. Step-by-step, I was able to create the Windows 10 USB stick and upgrade.
Plugging in the USB and launching the setup.exe, I was greeted with what I thought would be the end of my nightmares. Following the steps of the installer, my nightmare would soon resume with the four words: Enter a Product Key!
Let me briefly explain how Windows 10’s upgrade process works. When you upgrade on a computer with a reserved copy via Get Windows 10, and have all the WU Updates installed, you’ll be able to go through the installer and without entering a license key. Windows can recognize a license key in your system and skip the step, but nope; here I was, stuck with the installer asking me for a license key which I do not own.
Nightmare D: Microsoft Support (Part 1) #
Some time after failing with WU, I scheduled a call for Microsoft Support to see if there are ways to update without having the errors. Since it was the big day for Microsoft, their support team was busy, and it took over 2 hours before I received the call. Since I was seeking alternative methods than the WU upgrade path (more like too tired to try that again), I asked about why I was prompted with a Product Key page that I couldn’t skip, and that why my Windows 7 key wouldn’t work.
Here’s how the support team answered:
Windows will upgrade and transfer your current Windows 7, 8 or 8.1 License Key while the Windows 10 upgrade is in process to a Windows 10 license key and will register that onto the machine itself. This means that your current License Key is still limited to Windows 7 and not valid for Windows 10 until you’ve upgraded. That’s why your key doesn’t work.
He checked my license key in their system and confirmed that it’s a valid and genuine Windows 7 license key. However, he couldn’t explain why I was asked to enter a key. I was then given another phone number to call for “further instructions to fix [my] issue.”
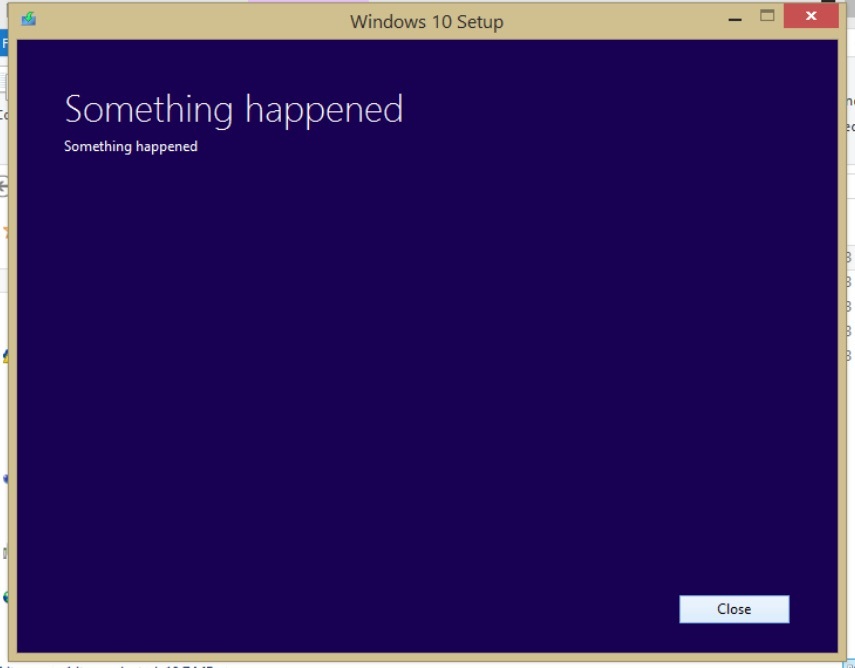
Nightmare E: Something Happened #
After trying to install via the USB boot media had failed, I tried several alternative methods and workarounds. I returned to the MediaCreationTool again. Instead of creating a USB Boot Media, I went with the “Upgrade This PC” option this time.
Well, Something Happened.
There have been many methods that could fix this, but unfortunately, none of them worked for me, and I was left with nothing again.
Nightmare F: Microsoft Support (Part 2) #
Thinking that the number would lead me to a quick call with another support team that can, I called the number which led to another Microsoft Support Call Centre. Little did I know, the call would be a 2 hour call that achieved literally nothing. I was taken straight to the you-are-on-hold–tunes and waited for the next available representative.
Quick Tip, Microsoft. If you could, please add an expected wait time for your call centres and have music that isn’t constantly interrupted by multiple advertisement of your products that not only interrupt the music, but interrupt each other.
“Xbox Live is currently unavailable. We are trying to fix the iss– Windows 10 is now available. Have you heard of Microsoft Edge? The latest br– Xbox Live….”
Well, you get the idea.
After 45 minutes of being on hold (I don’t even understand why I even waited that long without hanging up) , I was connected with a support team member who validated my License Key to be a legitimate key (again, even after I’d told him that it had been checked over by the previous representative). He then spends the following hour and a half trying methods done previously and eventually gives up with no progress done at all. I wasted over 2 hours seeking help from someone who couldn’t do anything that helped fix my issues.
Euneirophrenia: Windows Update! #
Eventually, I was too tired to continue and just left my machine alone. Upon returning from dinner, I finally got the update. Windows Update redeemed itself and presented me with the prompt…
Your Upgrade is Ready to Install.
Moral of the story up to this point? Just be patient, the update will come to you; there’s no point forcing it.
Part B: Path to Windows 10 x64 #
After successfully upgrading to Windows 10 x86 on the Mac mini, I booted right into OS X and removed the partition. I needed to re-install Windows 10 x64 and architectural changes (x86 → x64) required a clean reinstall.
Nightmare G: Boot Camp Assistant? No USB Option? #
Boot Camp Assistant is an easy solution provided by Apple for installing Windows onto your Mac. It was pretty easy to remove and repartition my disk to prepare for the next installation.
What came after removing Windows was a disaster. For those who’ve not played with Boot Camp Assistant, Macs shipped with an Optical Drive is required to install Windows with the Optical Drive as no USB Installation Option is given.
Nightmare H: OS X El Capitan’s Fabulously New and Better(?) Disk Utility #
Knowing that I had to burn the Windows.ISO file onto a DVD, I quickly found a spare disk and tried to burn the ISO with Disk Utility. Well, tried
In OS X El Capitan, they introduced a brand new, currently incomplete (as of time of writing) Disk Utility. How did I know it was incomplete? The option to burn the ISO onto a disk was missing! That said, I just used Finder’s Burn (file) to Disk option to burn the ISO.
Finder burnt the .ISO file, literally. What I needed was a disk with the .ISO’s contents, but I was returned a disk with the contents of 1 file: Windows_10_x64.iso (-‸ლ)
I tried again, this time burning the contents of the .ISO file, which failed too. Turns out I really needed Disk Utility in order to make a disk bootable since burning ISO’s in Finder will just give you an un-bootable option of the disk.
Boot Camp Assistant couldn’t recognize the disk as a Windows installation disk, and more importantly, BCA on this 2009 Mac mini could ONLY install 32bit Windows 7 according to this Apple Support Document.
Nightmare J: Boot Camp Assistant (Part 2) #
Turns out, Apple limited Boot Camp Assistant to allow installations of different Windows versions based on your Mac hardware. That said, I went surfing on Google again and found this Apple Discussion thread for enabling the USB option on unsupported Macs. This required me to modify the Info.plist file of Boot Camp Assistant.app and so I did.
The following are working methods for those who want to do it. (tested in OS X El Capitan)
(Disclaimer: I do not hold responsibility for any damages caused to machines when following the below methods.)
- Copy and Paste the Boot Camp Assistant.app from /Applications/Utilities to another folder, it doesn’t matter where. (This will allow you to edit the Info.plist without OS X blocking you)
- Right click on BCA and choose “Show Package Contents” and browse into the Contents folder and find the Info.plist
- Open the file, if Xcode is installed, Xcode will open, or else Text Edit will open.
- Find the text PreUSBBootSupportedModels and delete the prefix Pre
- If your Mac model is a Windows 7 only (Just like my Mac mini was), delete your Mac model from the Win7Only dictionary.
- Save the file, and open Boot Camp Assistant. :)
Euneirophrenia: Installed Windows 10 x64! #
I opened Boot Camp Assistant after the edits and found the option to create a USB Boot Media right inside BCA. After creating the USB Boot Media, I just followed the steps and installed Windows 10!
Just as Microsoft described, I never went through any steps to activate and the system shows my OS as activated. (Just remember to keep skipping it when prompted to enter a License Key)
Moral of the Story for Part B? Ask Google Senpai when in need!
Conclusion #
Honestly, I just want to write down the troubles I went through in the 30 hours I attempted to upgrade from Windows 7 x86 to Windows 10 x64. I hope my grammar wasn’t too much of a distraction (´・ω・)ノ
Thanks for reading… I will hopefully start writing more.
-Andy